More Plantings
Was sorting plants today, removing from the system the overgrown plants that I want to plant out the front to form a “Mallee Heathland” of sorts. It doesn’t matter that they are a bit scruffy as I will chop about an inch (2-3cm) off the roots when I plant them, and prune properly when new growth begins.
I found the only plant of Templetonia retusa, a prostrate form with apricot flowers. This plant is usually called Cocky’s Tongue because of the unususal shape of the flower reminiscent of a cockatoo’s tongue. It is a pea flower, similar to Sturt’s Desert Pea. I had been disappointed that I must have lost the plant, so it was a thrill to discover it in a box of overgrown plants waiting to be planted.
Another plant that I found was a seedling Correa which now looks like it might be a prostrate form of Correa alba. It will be interesting to see the flower to confirm this. The plant appears to have potential so we will see. I rescued another Correa seedling from a another pot which contained a good plant, and repotted it. That will have to be treated as a cutting as I broke a bit of the root, removing it. I have no idea what that might be at this stage of growth. Another surprise coming.
I have not been impressed with the flowering of two Westringea seedlings, although the foliage is attractive. They will go out into this heathland too, I think.
Sturt’s Desert Peas
2 Comments »21st March, 2006; Category: Caring for Native Plants, How to plant, Plant species, Propagating
I sowed seed of Sturt’s Desert Pea (Swainsona formosa) last week and now have them germinating. I nicked the side of the seed with nail clippers and placed the seed in small individual pots. There may be a few failures, but at least I am avoiding root disturbance.
I find nicking the seed to be more successful than the boiling water treatment. It is more labour intensive having to handle each individual seed but the results warrant it, I feel.
I still remember the first time I saw these growing in their natural habitat. We were heading for Arkaroola in northern SA and pulled off the road to have morning tea. It wasn’t until we were out of the car that we realised that we were in the middle of a huge patch of these plants and the first flowers for the season were just coming out. Fabulous photos (in those days, slides!) gave us great enjoyment later, too.
When you see the environment that they grow in it gives an appreciation of how far the roots must travel in order to survive the summer. The plants are sometimes perennial but probably best treated as annuals. They give a glorious display of their brash pea shaped flowers. Ants will carry the seed around the garden and they will pop up in the spots that you don’t want them but haven’t the heart to pull them out. The self sown ones always do better.
A lot of research has been done on breeding colours for export markets and on the growing of these plants. At one time it was always declared that you did not water these plants in the garden. After all look at where they grow in the wild in barren, parched locations. However, logically, they grow and flower when there is moisture available. So in the home garden they need water if you want growth and flowers. Apparently they do particularly well in self watering pots and also appreciate fertiliser. I haven’t tried this yet. I just want them in the ground, self sowing merrily away! To see some lovely photos of Sturt Desert Peas have a look at this web page.
How to plant Australian native plants
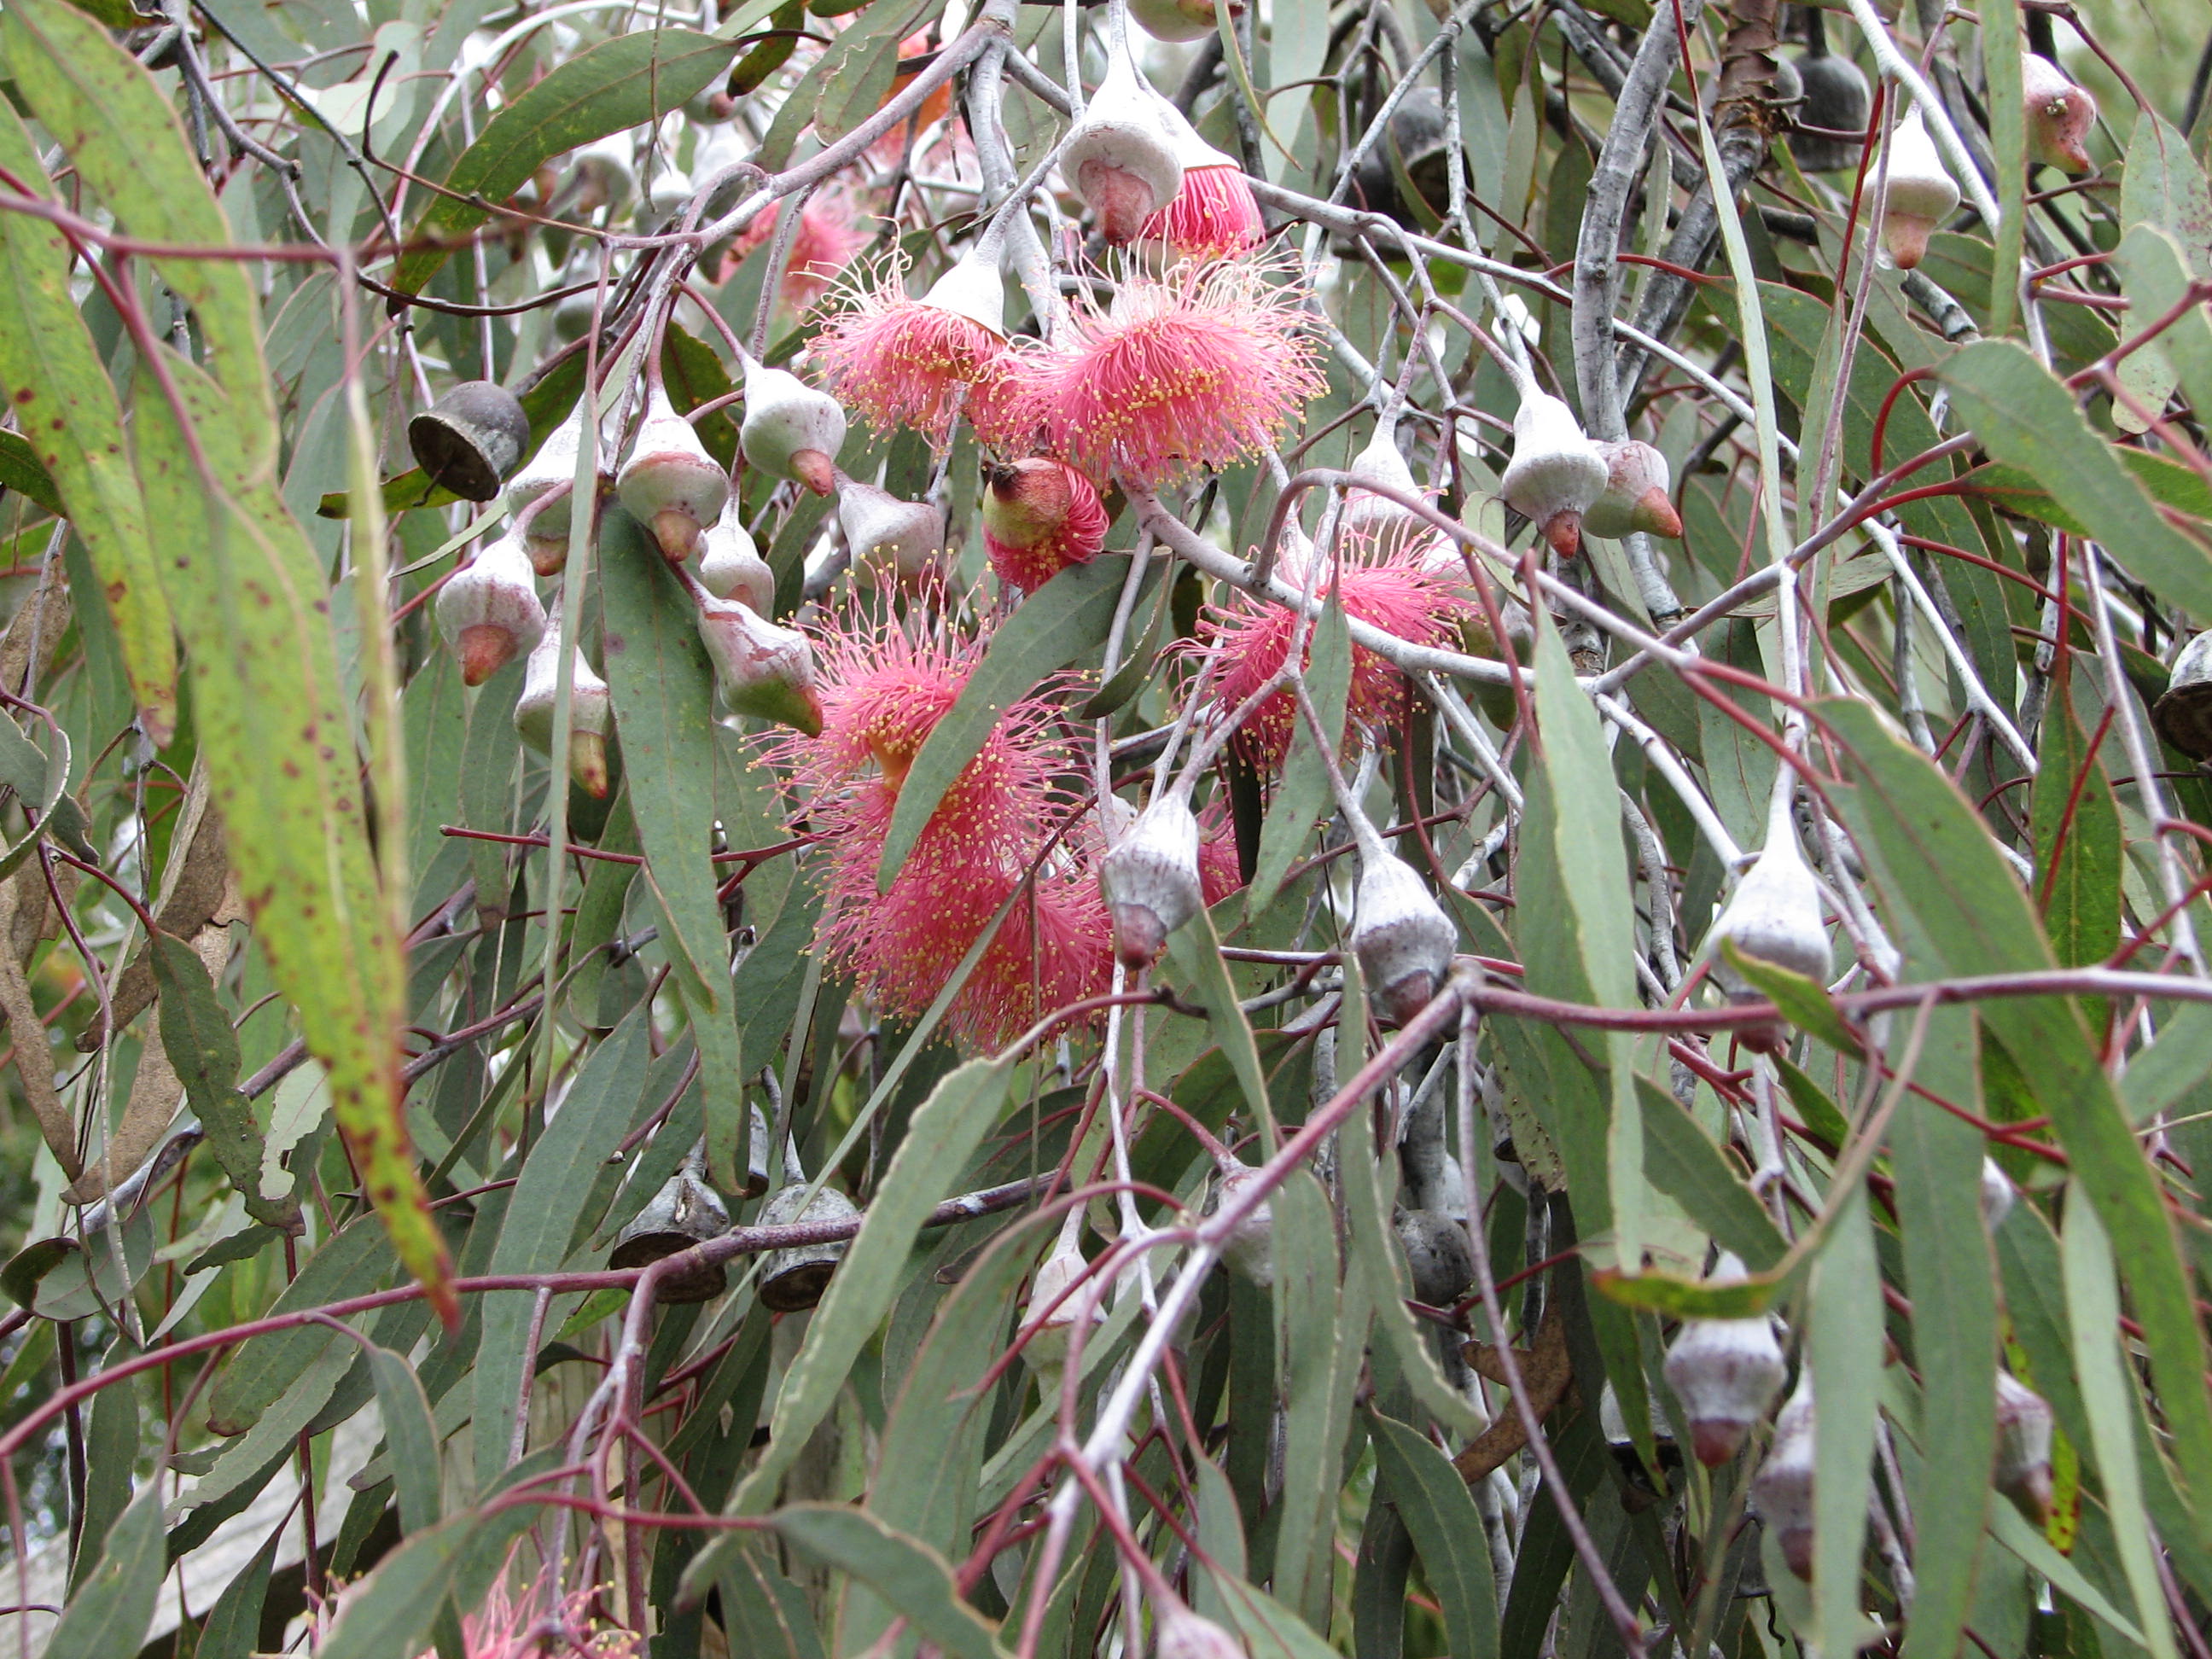
Eucalyptus caesia
Early autumn is an excellent time for planting Australian native plants. The soil is still warm, the extremes of temperature have, in general, passed and rainfall becomes established again in the temperate areas of Australia.
Good gardening practice will always give good results for planting any types of plants, and Australian natives are no exception to this rule.
1. *Weed control is most important. Remove all weeds from the area to be planted. Be aware that cultivating the soil often will encourage weeds to establish. (On the other hand some native grasses will establish on uncultivated soil).
2. *Prepare the soil by forking to at least the depth of the root system, plus half again, and a diameter of 30-50cm (12-18inches) depending on the pot size.
3. Dig in whatever well rotted organic matter you may have, or keep it to apply to the soil surface.
4. I find it a useful thing to fill the planting hole with water and allow the water to drain away. This not only gives moisture in the subsoil to encourage roots downwards, but enables you to check the drainage of the area.
5. Create a raised planting site by bringing in soil from another area of the garden, if poor drainage is a problem or
6. Add gypsum to the soil if water seems to sit too long in the planting hole. About a kilo per square metre is recommended on poorly draining soils ie those that are mostly clay.
7. If water sits on the surface and seems to bead, non wetting soil is probably the problem. Buy a suitable soil re-wetting agent and follow the directions on the container. These are usually added after the planting is done. Similarly when watering fails to wet potting mix, dunk the container in a bucket or tub such as a garbage bin and if necessary add soil wetter to the water or the surface of the pot depending on the product being used.
8. *In general it is a good idea to soak potted plants in a bucket of water with some soil wetting agent added to it just before planting. (Unless you know for sure that the pot already contains this.) Soak long enough for bubbles to stop rising.
9. Adding fertilizer to the soil immediately below the plant can be a good thing. Use about a tablespoon of slow release fertilizer suitable for native plants, or use blood and bone added to the soil used to put around the plant in the planting hole.
10. *When placing the plant, create a small depression in the soil to act as a water catchment for rain or as a dam for hand watering.
11. *Plants need to be established by regular watering around the roots for several weeks, then weekly watering then leave greater intervals, depending on the amount of rainfall received. Don’t expect the plant to survive on natural rainfall if autumn rains have not begun in your district.
12. *Mulch the area surrounding the plant, keeping the mulch back a little from its stem.
13. *Use inorganic mulches like small sized gravel or sand that is free of weed seed.
14. *Or use organic mulches which will break down over time and need replenishing, but in doing so will add humus to the soil.
15. *Suitable organic mulches would be bark or wood chip, pea straw, rotted lawn clippings, or other rotted vegetable material or waste material.
The points marked * are the minimum that should be done.