Growing and Planting Australian Native Plants
In an earlier post on growing Xanthorrhoea, a comment was made about using milk cartons as a cheap deep pot that will accommodate the root systems of Australian native plants. As a result of that comment, ‘Roughbarked’ sent some very useful ideas on how to actually use the milk cartons as planters and as tree guards. I have been saving milk cartons for a while as I am about to replace a couple of hundred plants, and we have a family of hares and some rabbits. (If I had my way they would all be in the stew pot!) The destructive pests wil eat plants off below the last set of leaves leaving no opportunity for re-shooting, and resulting in the loss of the plants. Commercial tree guards are available, but of course the extra funds spent on these could go on buying plants.
This is the very useful comment made by ‘Roughbarked’.
Milk cartons as pots and tree guards.
I use a knife and stab the cartoon on each of the four faces once, in or near each corner. If you use a knife long enough you can stab right through two sides at once, flip the carton stab it again the same way and the job is done. I also cut the folded top part off so that all cartons have a neat and equal size. The stabbing leaves only slits so the water can drain but not drain too rapidly. Yes, the bottom of the carton will deteriorate and I have often just slipped the old carton off and slid the lot into a new one.
The benefits of milk cartons as a pot for natives are the long straight sides and the corners. The roots will hit the corners and follow the water down to the slits I cut. This creates a healthy root system that cannot become pot bound.
When planting out from milk cartons, I will point out that it is the only useable pot for natives, that does not have to be upended. I just tear or cut the bottom off, grasp the carton by the top and drop it downwards. The plant roots and mix all stay together and slide out into the hole you have dug. The milk carton slides upwards. Stop it just before it slides all the way off. Water and backfill the hole leaving the milk carton as a tree guard. Done with skill, this does not require stakes to hold the carton erect. The carton will remain for up to two years as a tree guard that is biodegradable and will not cause the trees stress by becoming a tourniquet, as some plastic tree guards do.
Swainsona formosa (Sturt’s Desert Pea)
6 Comments »13th April, 2009; Category: Climbers and Ground Covers, Propagating, Using Australian Natives
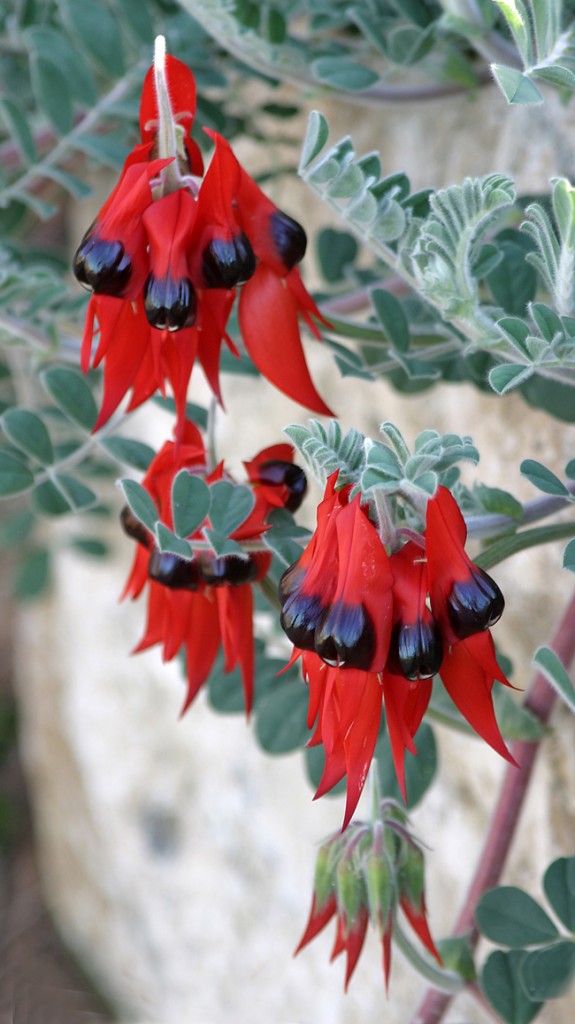
Swainsona formosa (Sturt's Desert Pea) Photo M Tranent

Swainsona formosa (Sturt's Desert Pea) Photo M Tranent
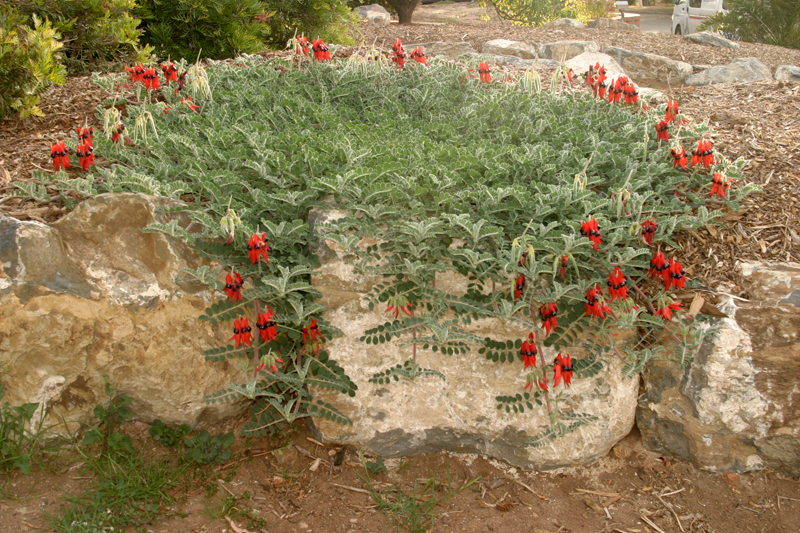
Swaisona formosa (Sturt's Desert Pea) Photo M Tranent
I was sent some lovely photos of Sturt’s Desert Pea by a reader of this blog. As you can see, the plant is dense and lush, as you would want to have it in the garden, not in a state of survival.
Sturt Peas need to be watered. They respond with excellent growth and numerous flowers. Water well pots are very good.
The only exception to this might be if you had a self sown plant. These are remarkably hardy as self sown plants seem to send the roots very deep.
They also respond to being fed. Use a fertiliser designed for native plants.
In the photos the plant is growing in a raised bed. It has been shown that so long as the planting mound is at least 10cm(4 inches) above the surrounding soil, that will give the required good drainage.
Propagating Australian Native Plants
No Comments »15th February, 2009; Category: Propagating
There has been relief from the heatwaves and I have been potting on struck cuttings as fast as I could. I wanted them in their pots and in the hot house before the next burst of heat. New roots dry out so quickly when planting on. Sometimes I have taken potting mix, seedlings, pots and boxes for the plants inside to work, but the hassle is still finding somewhere to store the newly potted seedlings. Not to mention the mess to clean up and the lugging of boxes of plants to the hot house.
The hot house has allowed me to keep the survival rate very high as the humidity keeps a blanket of moisture around the soft leaves. The next step is gradual hardening off.
I have a number of plants I am looking forward to planting out next month, taking advantage of the warm ground to get them growing well before the frosts slow things down. Unfortunately it means bucketing extra drinks to the plants until the rains in late autumn, but it will be worth it to have them well established before next summer.
I want to do a survey around town to see what has survived this summer and under what conditions, drippers, hand watering or none at all.
Growing Eucalyptus From Seeds
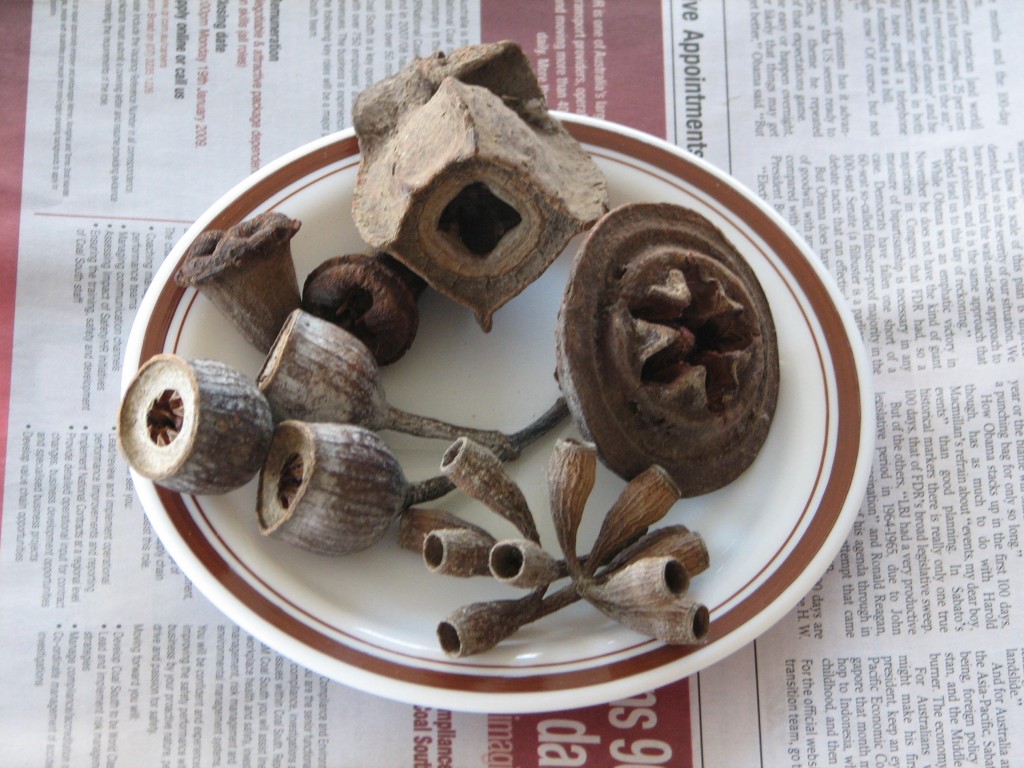
Collection of Eucalyptus nuts
The Eucalyptus gum nuts (woody fruits) that are left on the tree after it has flowered, contain seed and chaff. When they have ripened some fall off naturally, or are nipped off by parrots and lorikeets.
These gum nuts can be collected and placed in a container or paper bag and left in a dry place until the valves in the top of the nut open and release the seed and chaff.
Some trees hold the nuts way past the first year. It is always best to take the older nuts as then you will be sure that the seed is mature and will germinate.
Some species of Eucalypt do not set much seed in the nuts, and some seed will not germinate.
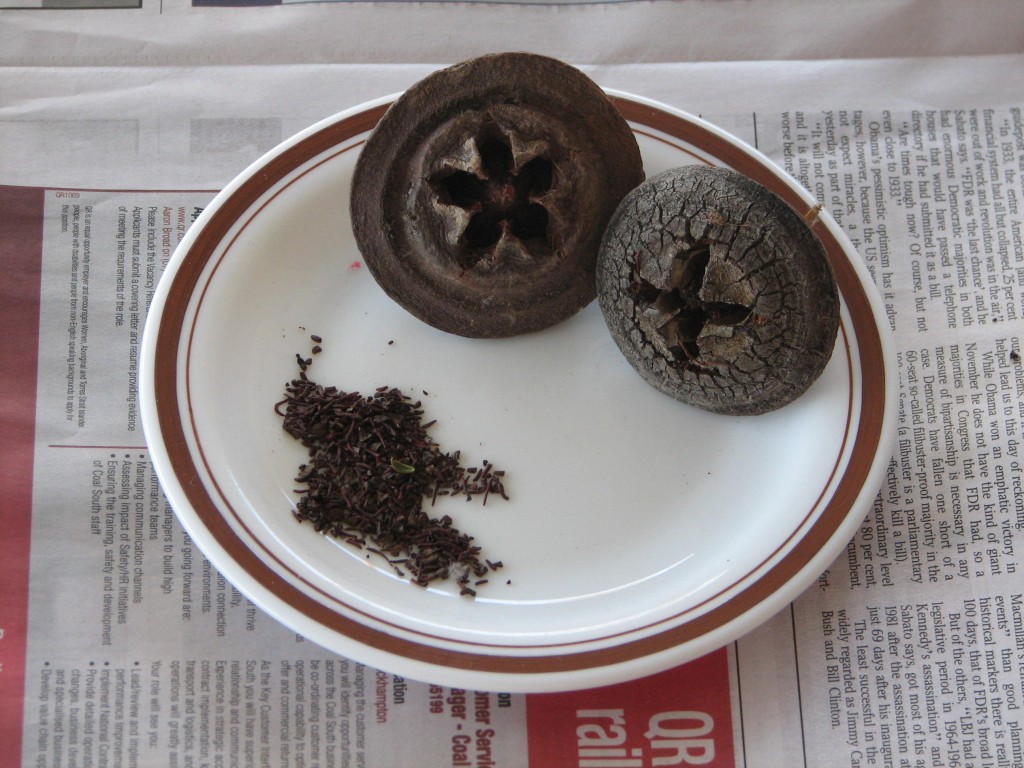
Eucalyptus macrocarpa gum nut with seeds and chaff
Some easy ways to germinate the seeds:
Containers
Use a clean pot, about 100-150 mm across the top, with holes in the bottom.
Seed raising mix
You can buy seed raising mix from garden centres and some large supermarkets. It keeps, so just store it in a clean container, with a lid.
You can make your own with clean (washed) coarse sand and cocopeat.
- The cocopeat is available from garden centres and supermarkets. The block is the size of a house brick and is made from coconut husks.
- Half fill a 9 litre bucket with water, place the cocopeat brick in the water and leave it to absorb the water and expand and become moist and crumbly.
- Use about two parts peat and one part sand mixed together.
Sow the Seed
- Fill the pot to within 2 cm of the top of the pot and tap the pot on the table to settle the mix.
- Press the surface of the mix lightly to make it smooth.
- Sprinkle a pinch of the seed/chaff over the surface of the mix.
- Sprinkle a very light layer of the seed raising mix over the seed.
- Label the pot with the name of the species and the date.
- Labels can be made from the lid of an icecream container, or pop sticks.
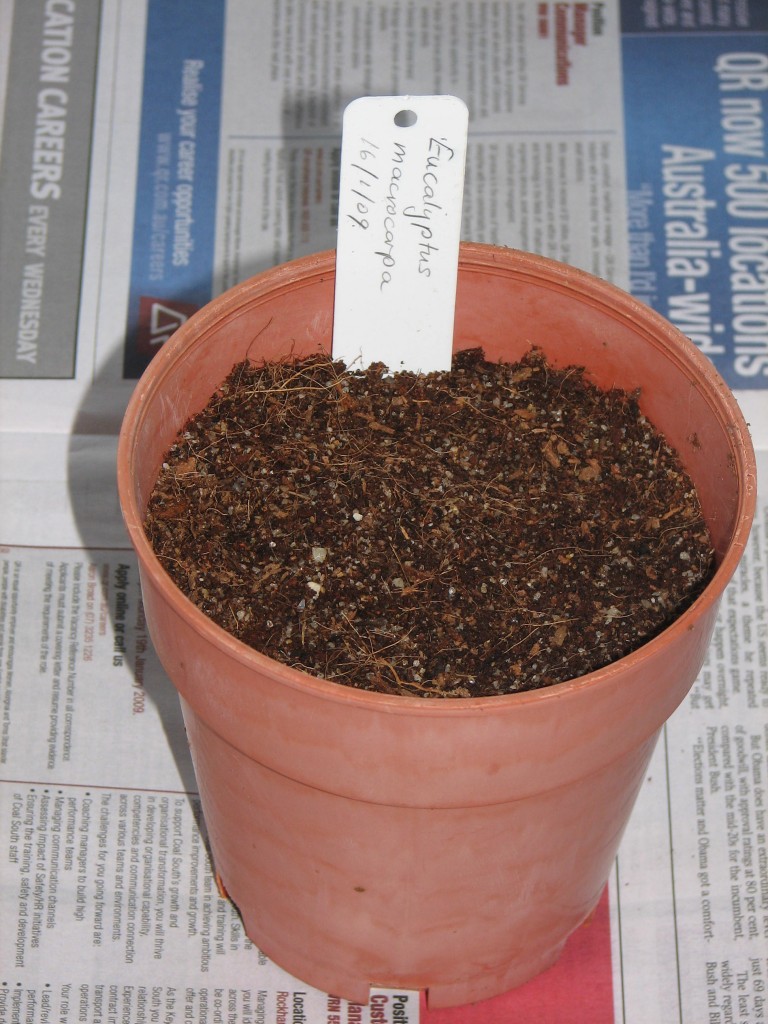
130mm pot sown with Eucalyptus macrocarpa seeds
Caring for the pot of seeds
- Stand the pot in a container like an icecream container and fill the ice cream container with water.
- The water will soak up through the seed raising mix and wet the surface of the mix and the seeds.
- The surface of the mix should be kept moist, not soggy, so once the moisture is there, keep the water level in the ice cream container at about 3cm.
(You could use a fine spray from a hose to water. Be careful that it is fine so that you do not wash the seed out of the pot.)
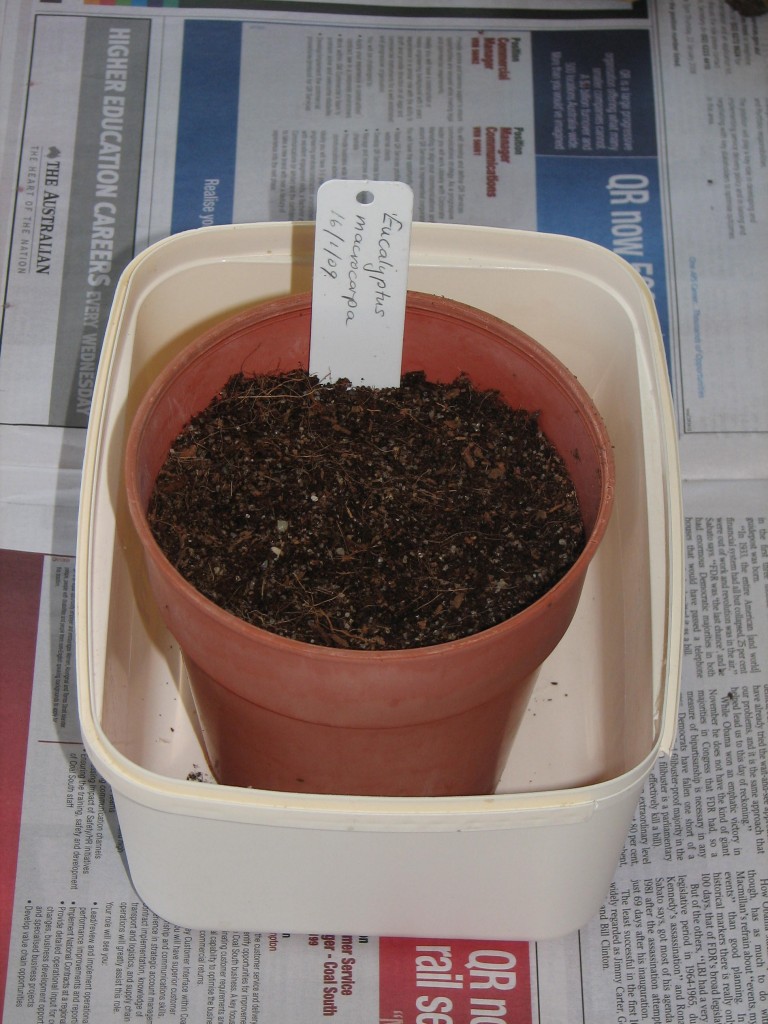
Seed container in icecream cotainer
- Keep the pot in a sheltered, well lit spot, out of direct sun if the weather is hot.
- Seed should begin to germinate in 2-4 weeks, depending on the air temperature.
- When the seed has germinated, keep the water level in the icecream container quite low, or remove it altogether, keeping the potting mix just moist.
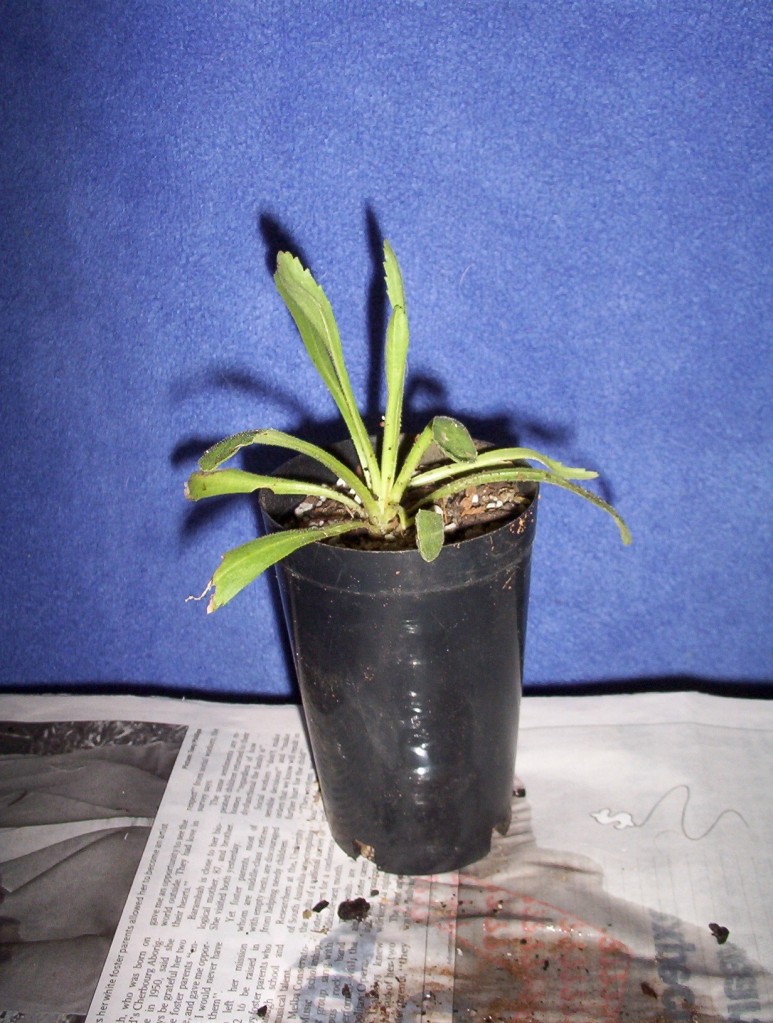
Make New Plants…By Dividing What You Have
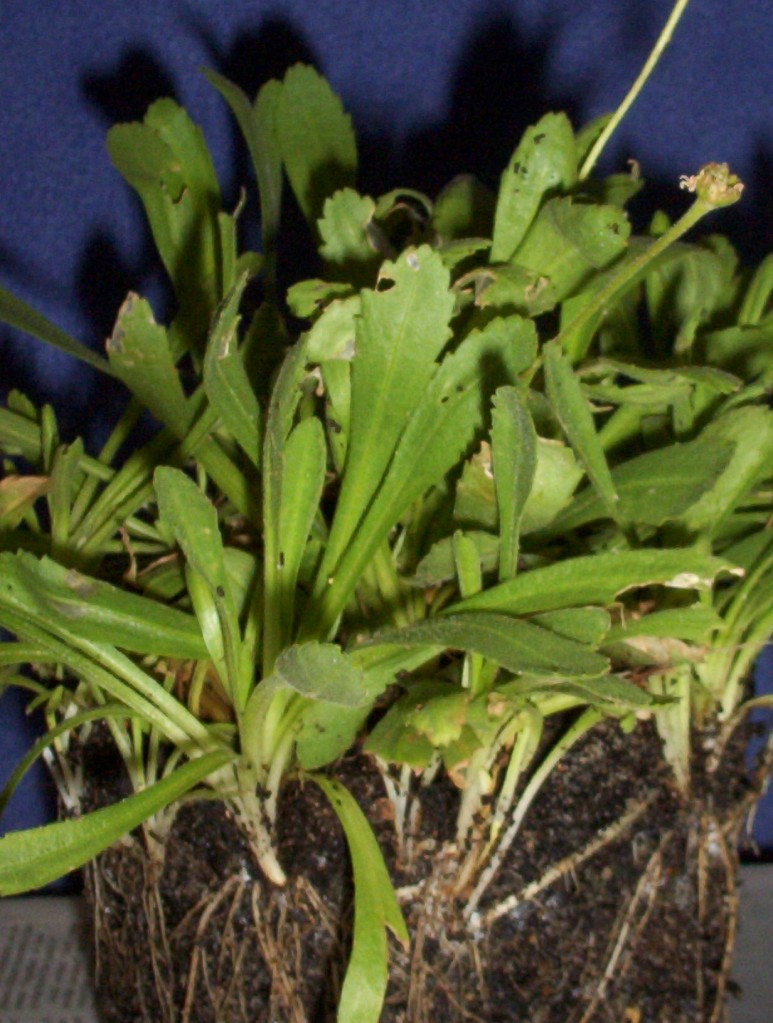
Clump showing many new plantlets
Sorting plants today, I came across some native daisies and violets and grasses which were very tight in their pots. There were multiple plants jammed in as the original plant had multiplied over the past year. The way to deal with them is to divide the pot full and repot the smaller bits or plant straight into the garden. The same applies for a clump that has got out of hand in the garden. A spade can be used to dig up a section which can be divided into smaller portions, some to replant and others to pot on to give away to appreciative folk or placed on a fund raising stall. Let the plants settle and grow on for a few weeks before doing this. Now would be a good time to divide and repot if plants are intended as Christmas gifts. The plant in the photos is a daisy Brachyscome tenuiscapa variety pubescens.
The process is simple. Gather a serrated edged knife (like an old bread knife), secateurs, pots and potting mix and something with which to label the plant. Up end the pot and remove the whole clump. Examine the root ball to see where the divisions might be made.
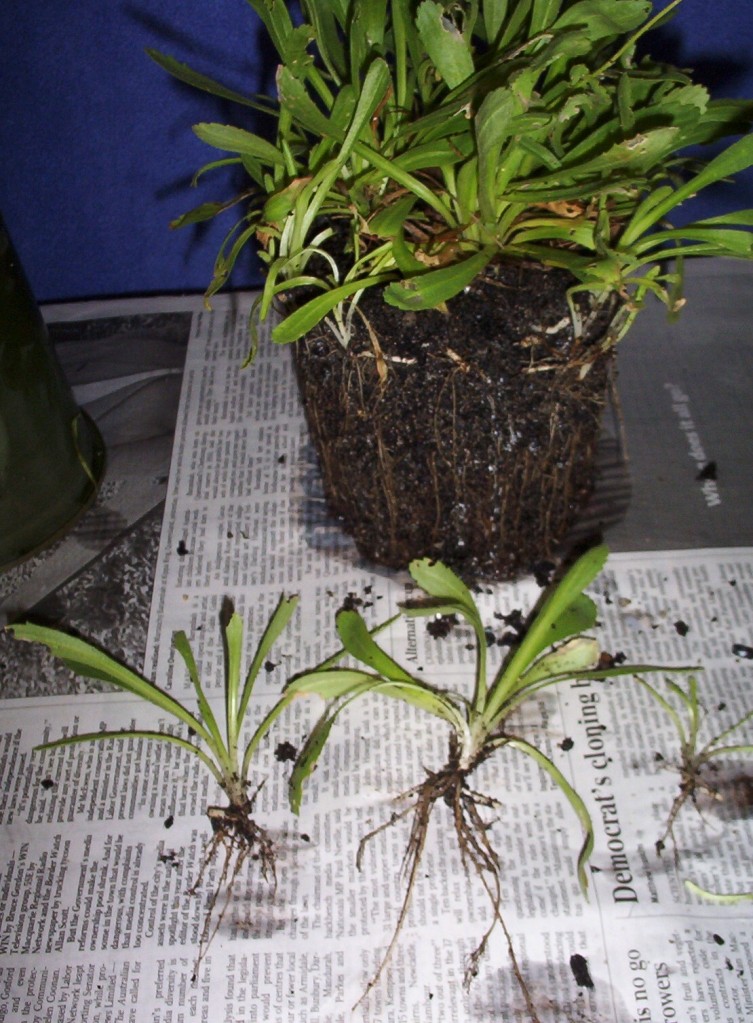
Plantlets cut from the main clump
It is often easier to shake the potting mix from the roots so that individual small plants can be seen. Use knife or secateurs to cut between each plant, ensuring that some roots remain on each piece. If there are no roots on some good pieces place them in some propagating mix and treat as a cutting. The other pieces can be repotted or planted out.
Newly potted small plant